Product overview
Installation
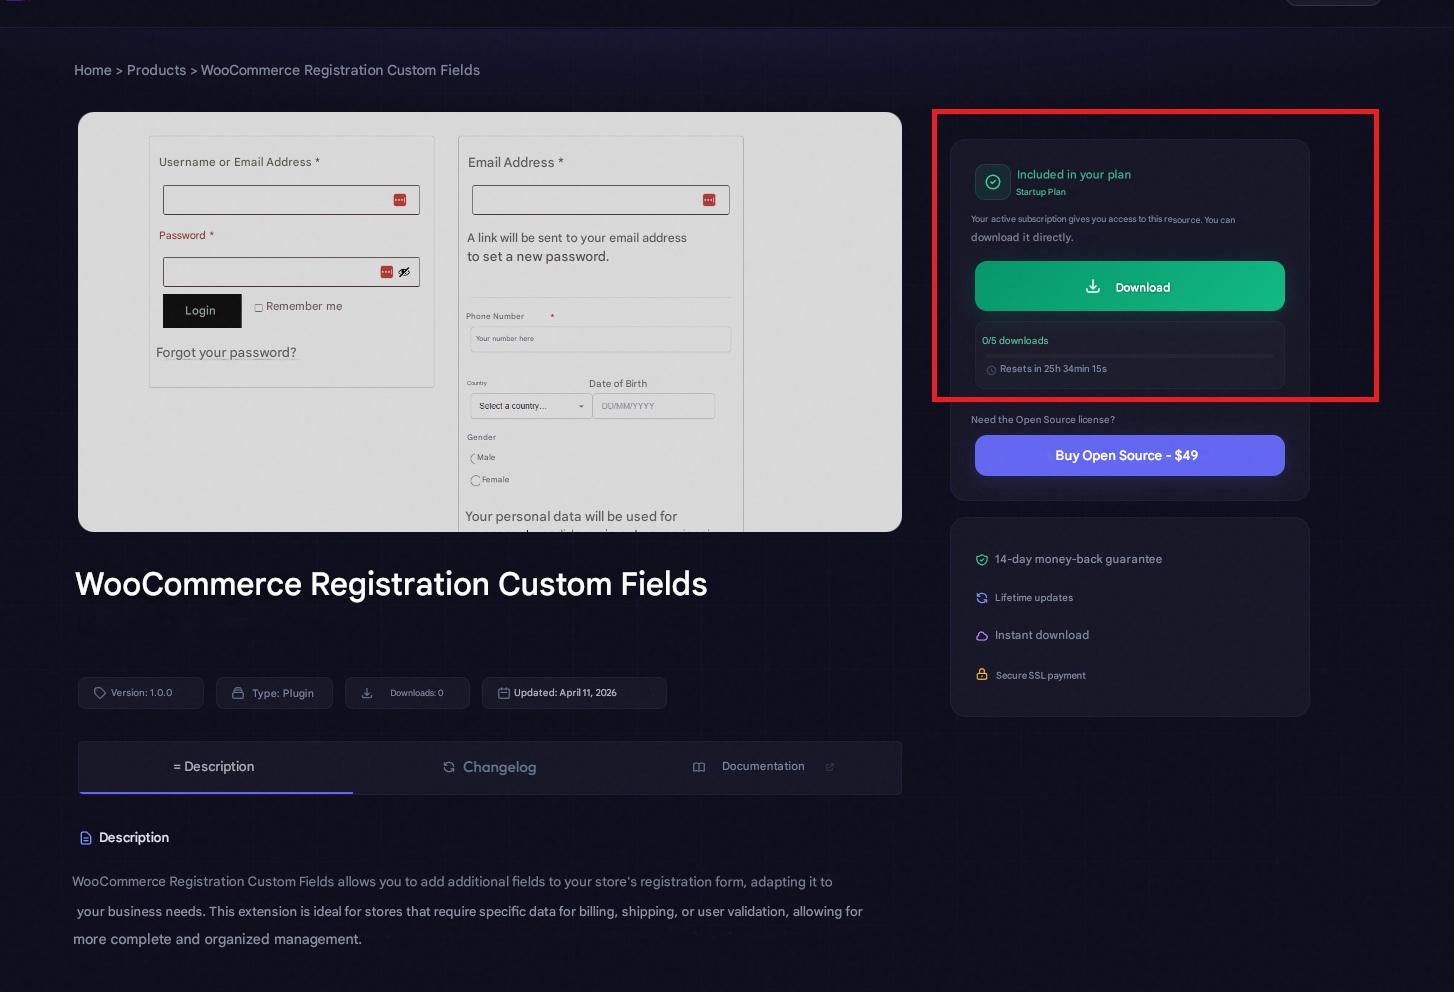
- After purchasing the license, download the plugin file in .zip format.
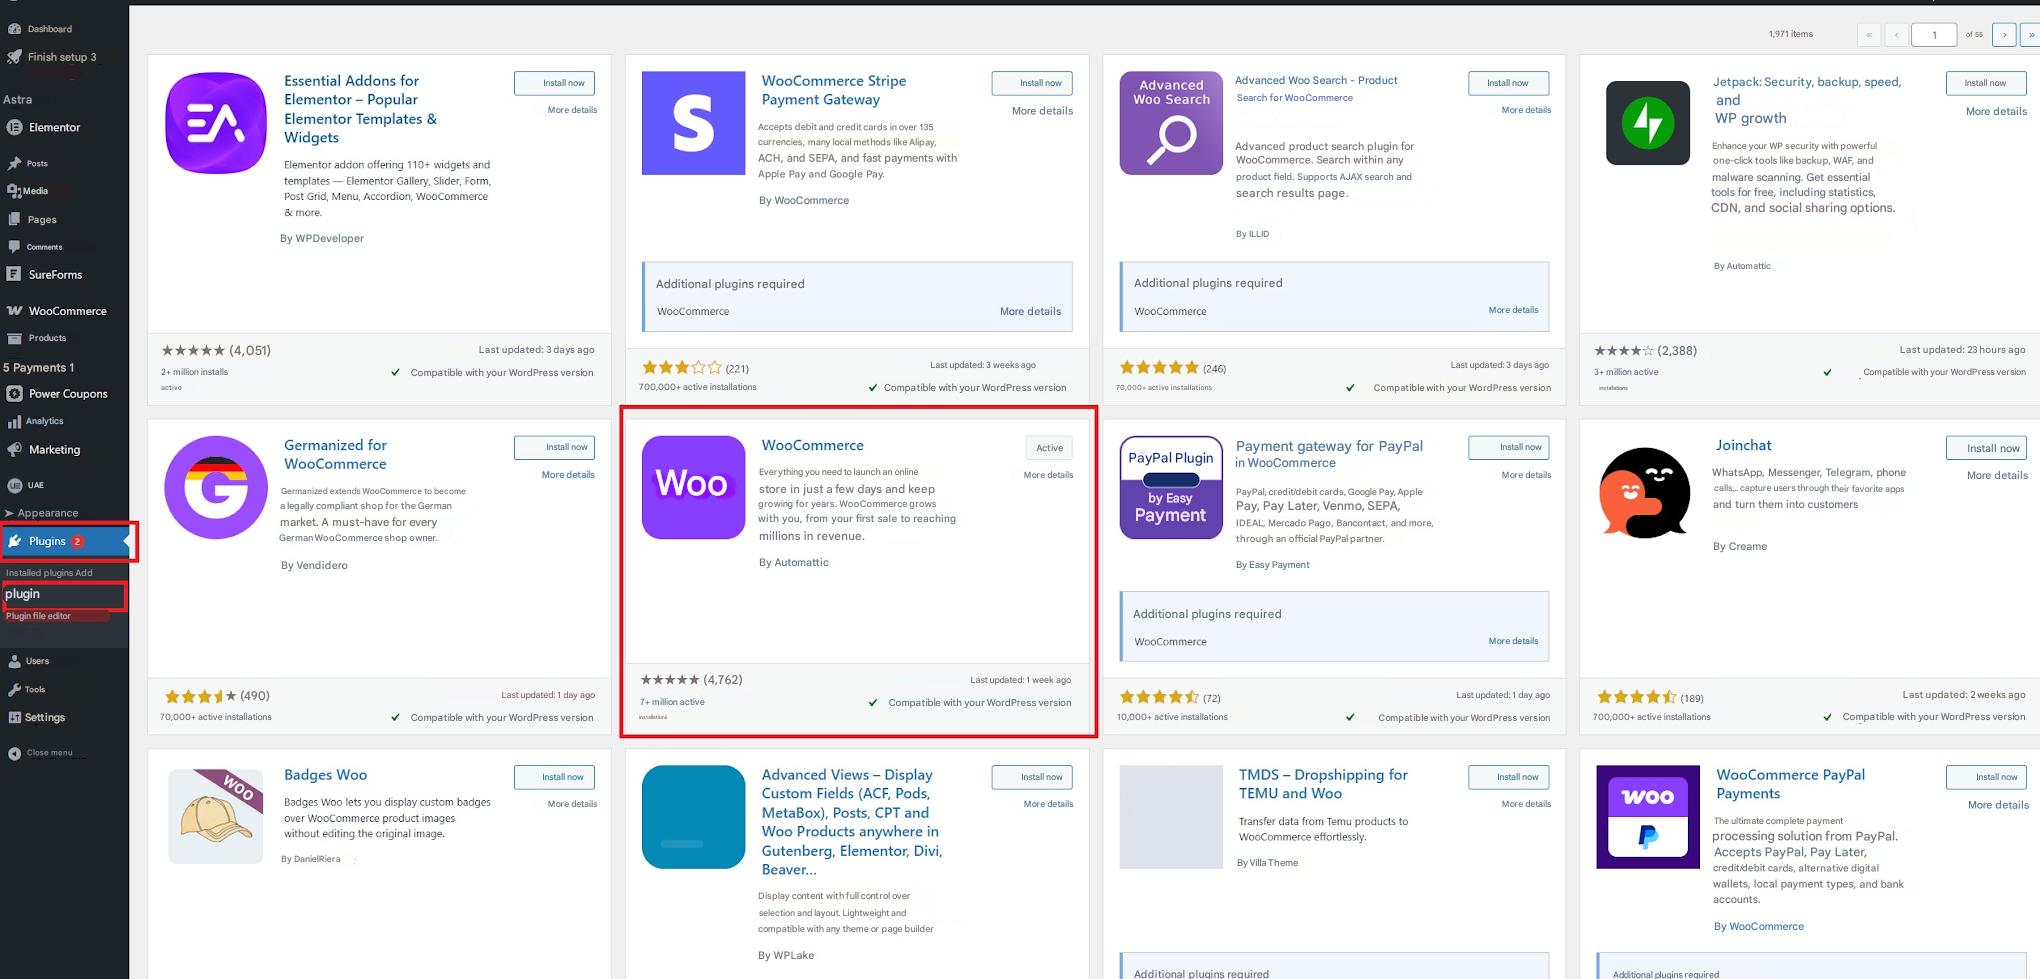
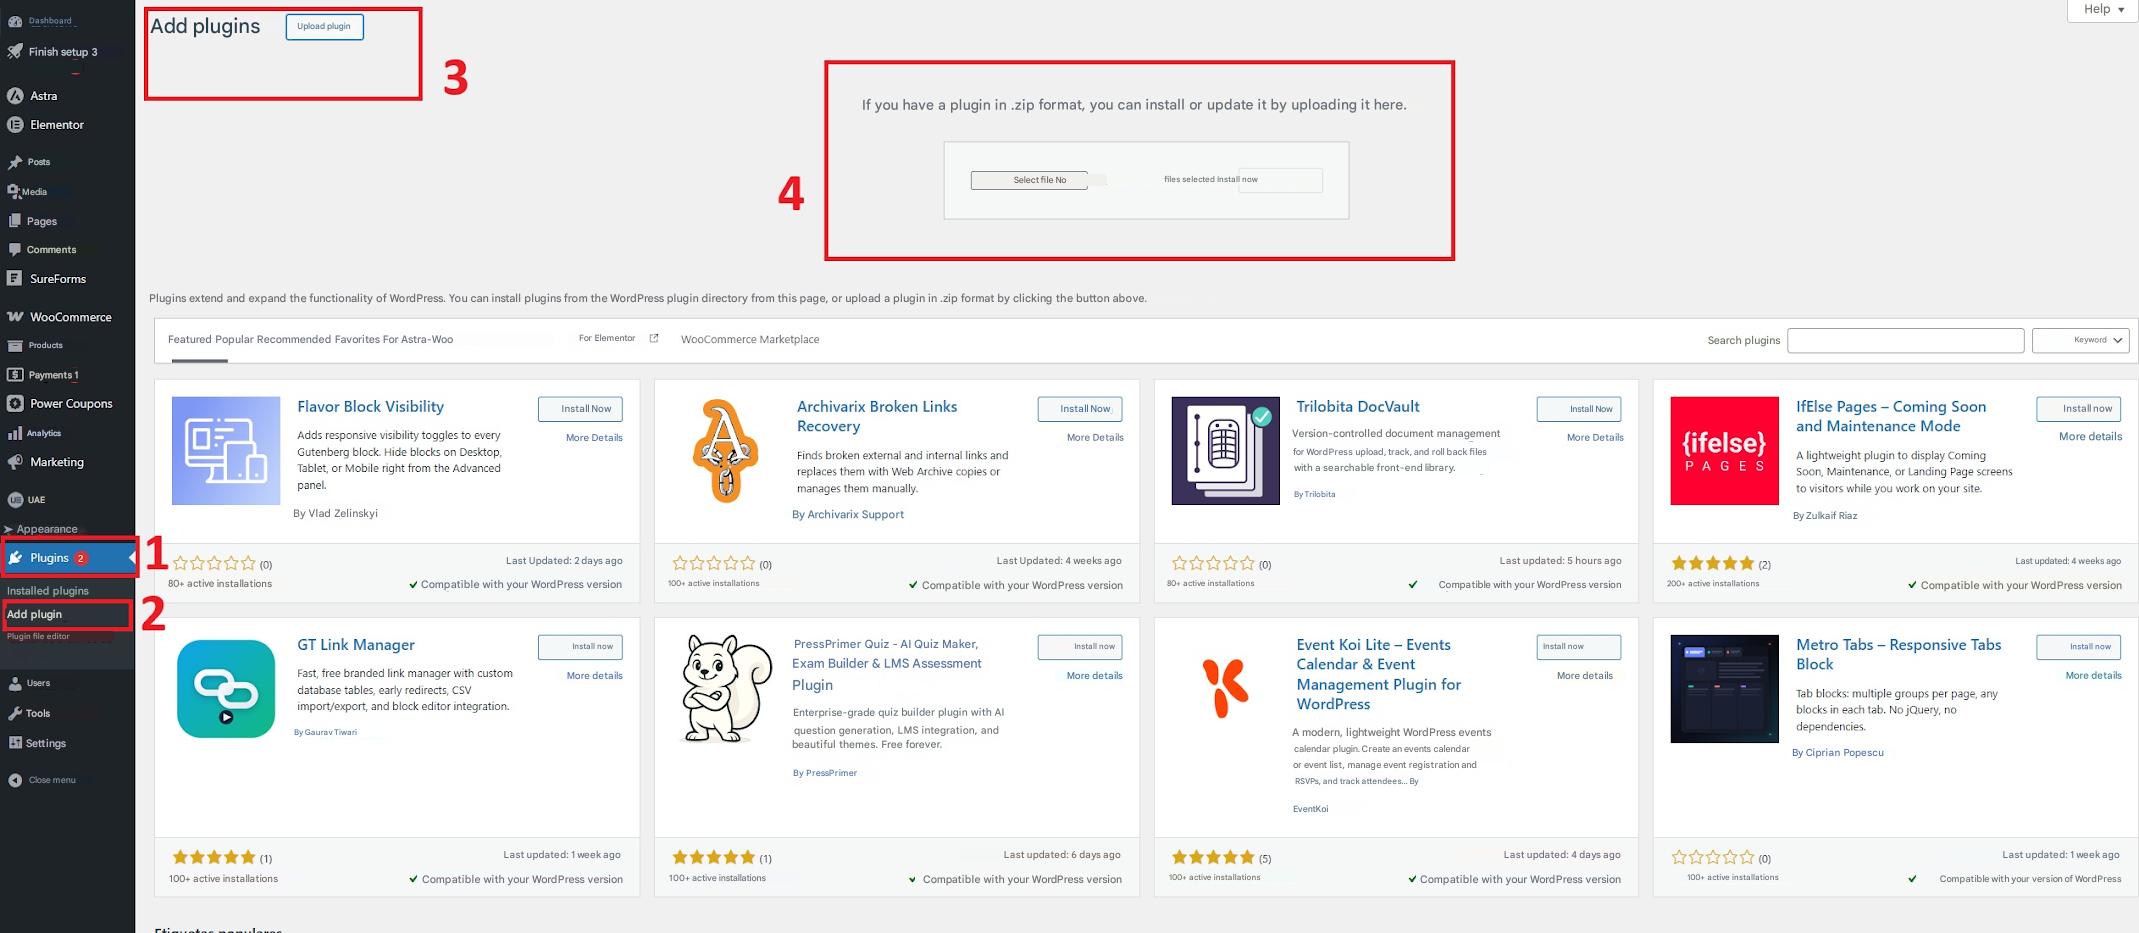
- In your WordPress dashboard, go to Plugins → Add New → Upload Plugin .
- Select the .zip file and click Install Now .
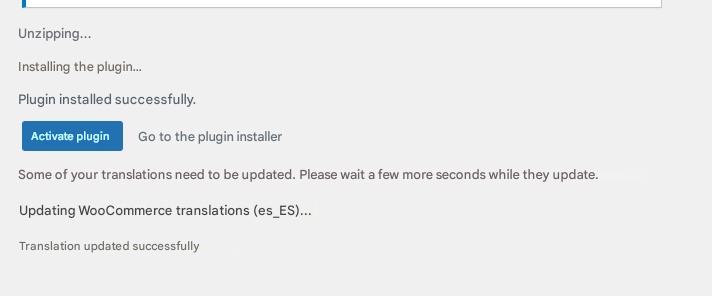
- Once installed, click Activate plugin .
License activation
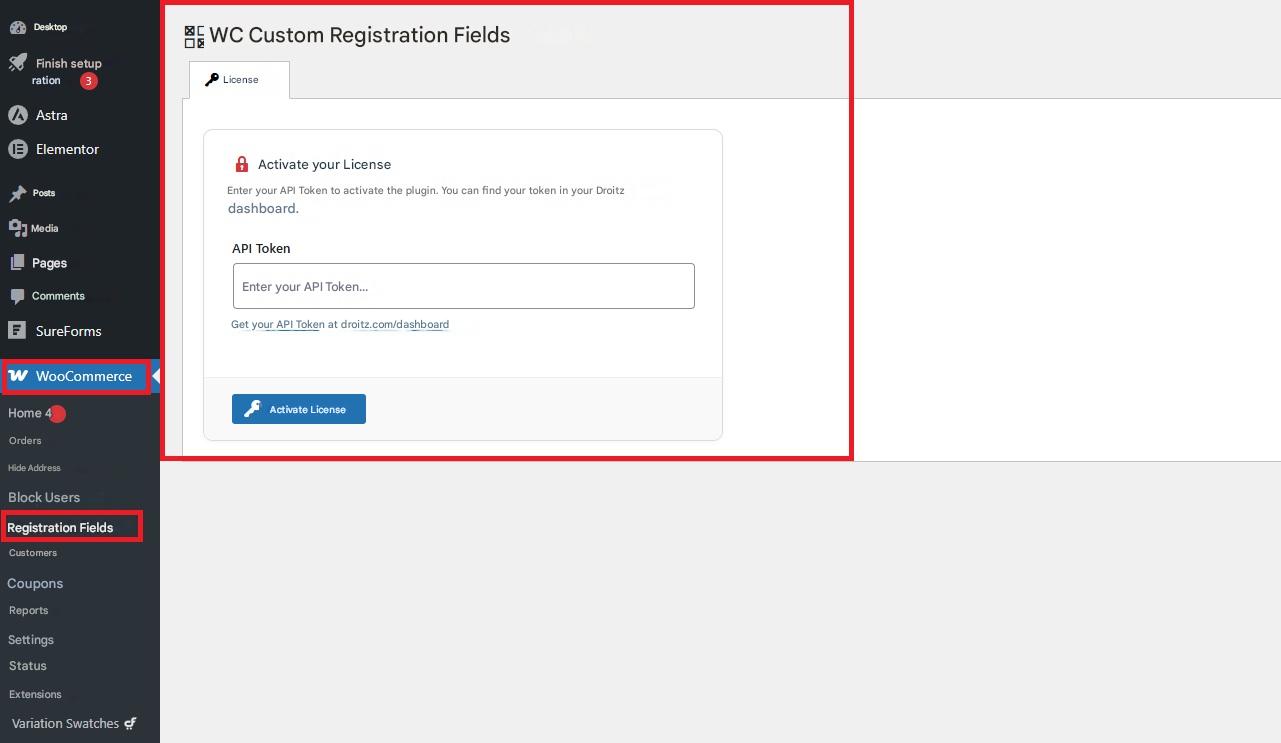
- Go to WooCommerce → Registration fields in your WordPress dashboard.
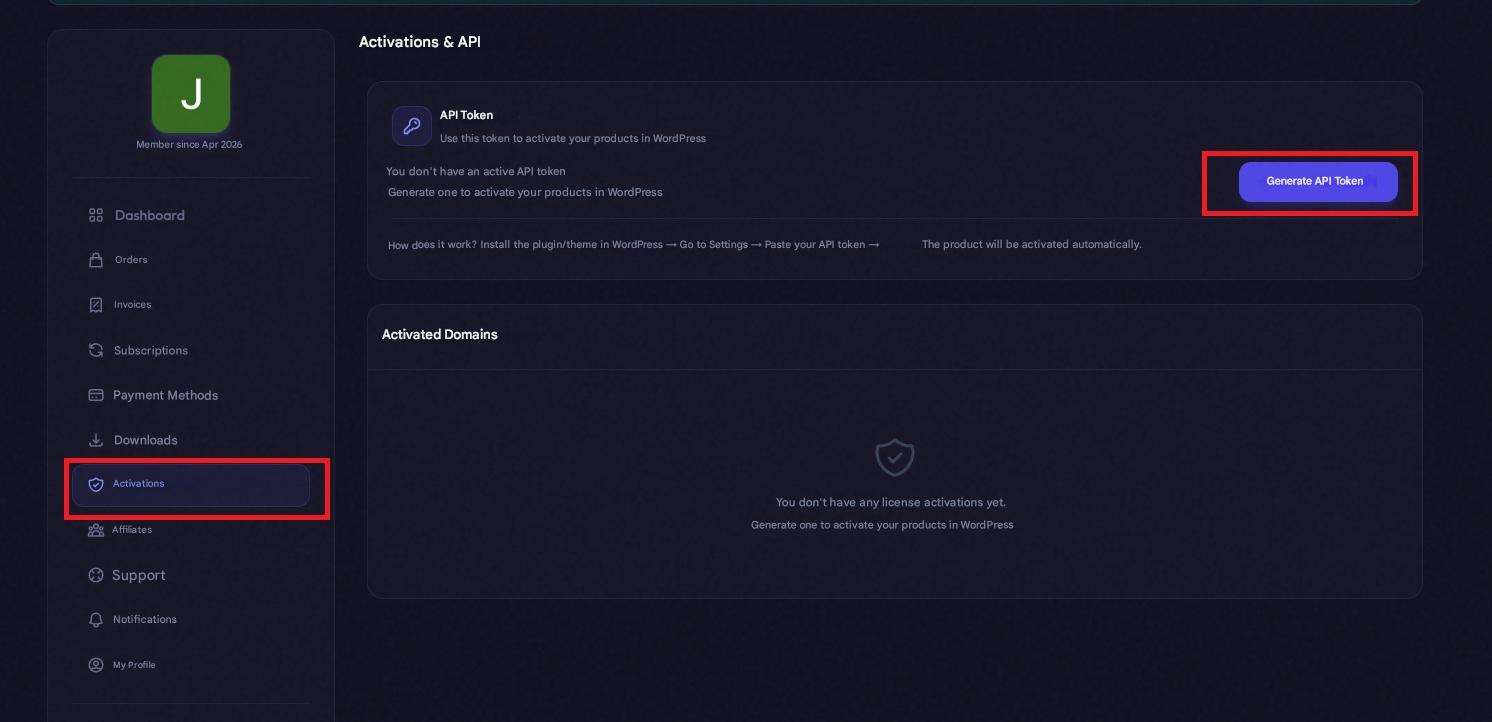
- Access your user panel at: droitz.com/dashboard .
- Go to the Activations section and generate your API token .
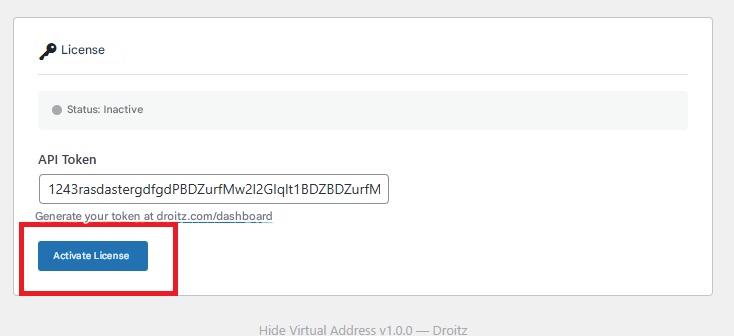
- Copy the token and paste it into the corresponding field within WordPress.
- Click on Activate .
- Select the purchased license to complete the process.
How to use the plugin?
Note: Before explaining the functionality of this add-on, it is necessary to activate the following options:
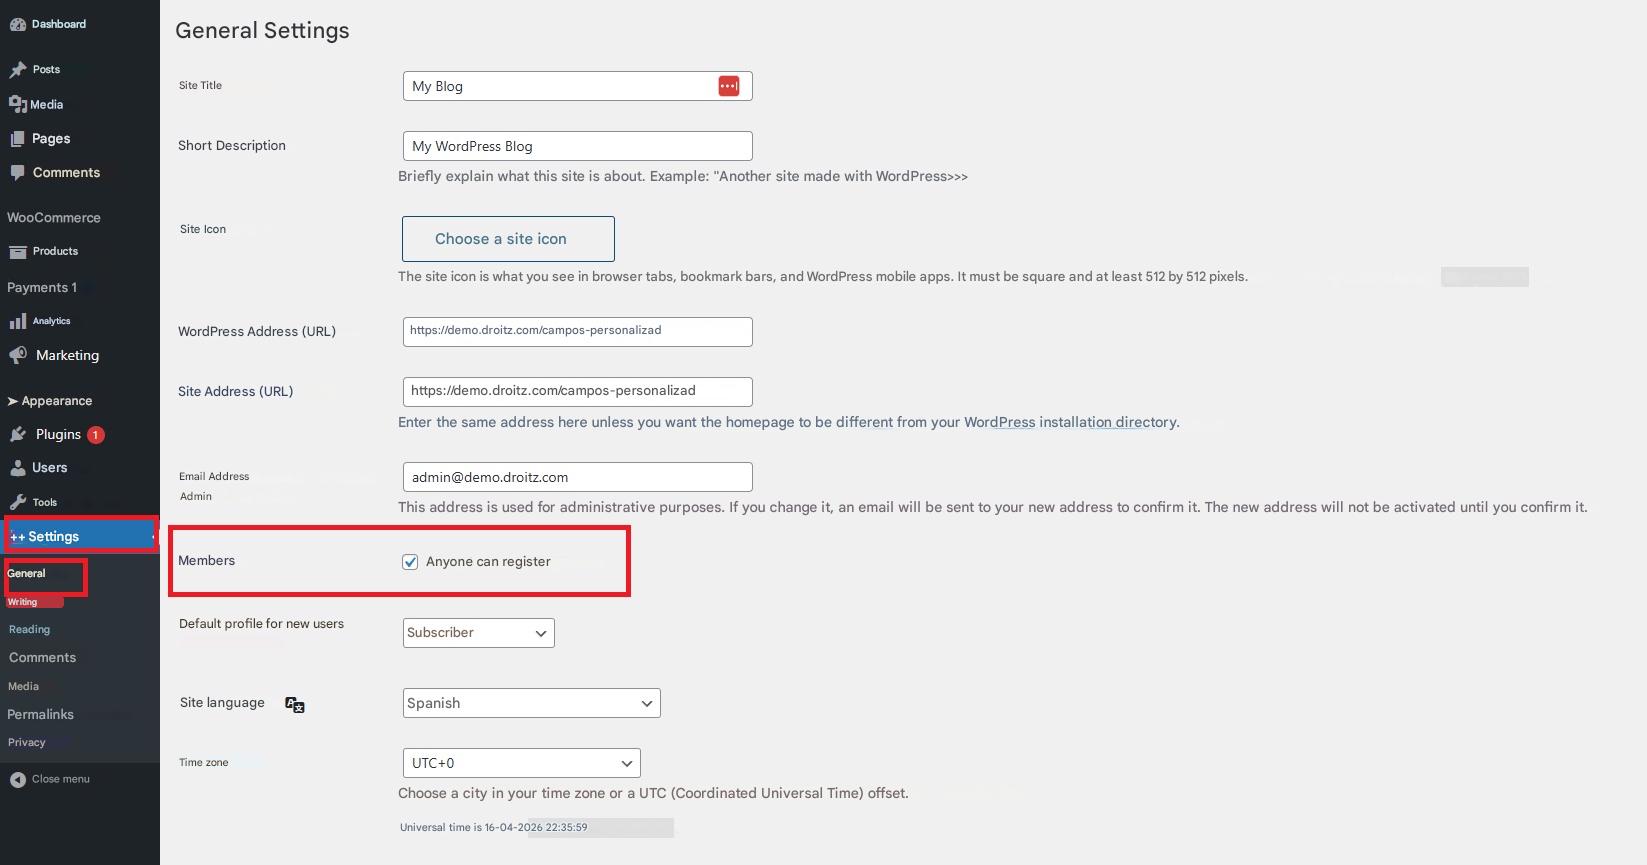
- Enable registration for anyone: Go to Settings > General, and in the Members section, enable the “Anyone can register” option. This will enable user registration on the site.
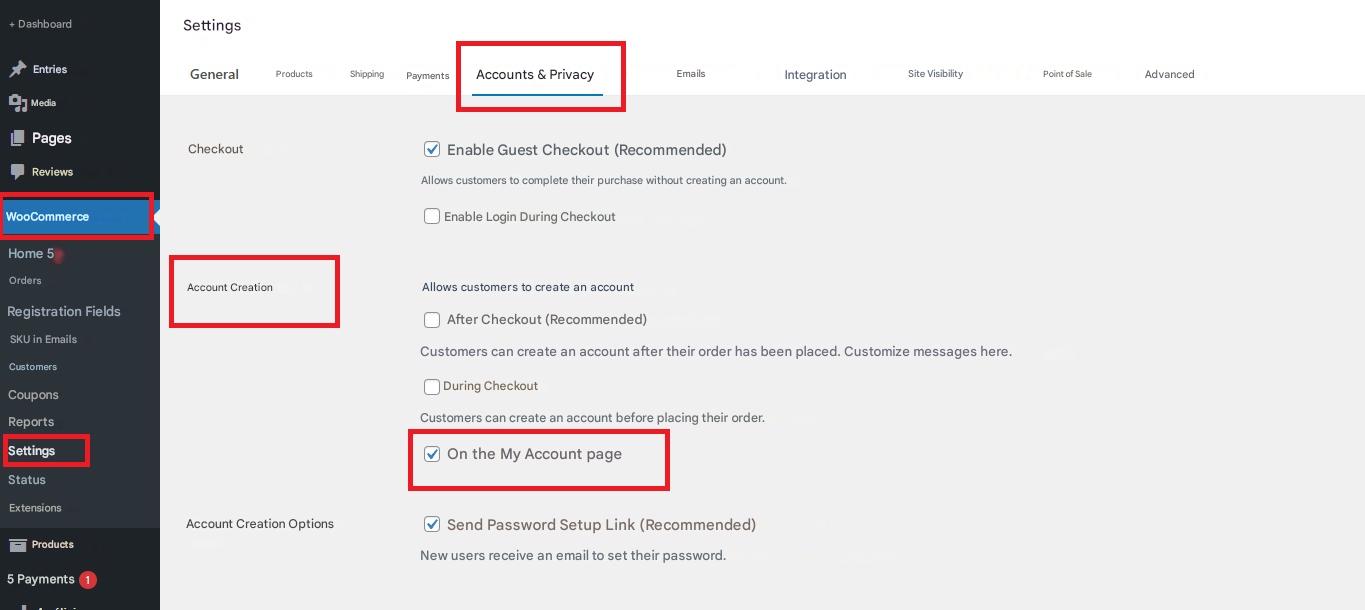
- Enable account creation: Go to WooCommerce > Settings > Accounts & Privacy, and in the account creation section, enable the “On the ‘My Account’ page” option. This will allow users to sign up directly from that page.
To configure the plugin, we need to go to WooCommerce → Registration fields.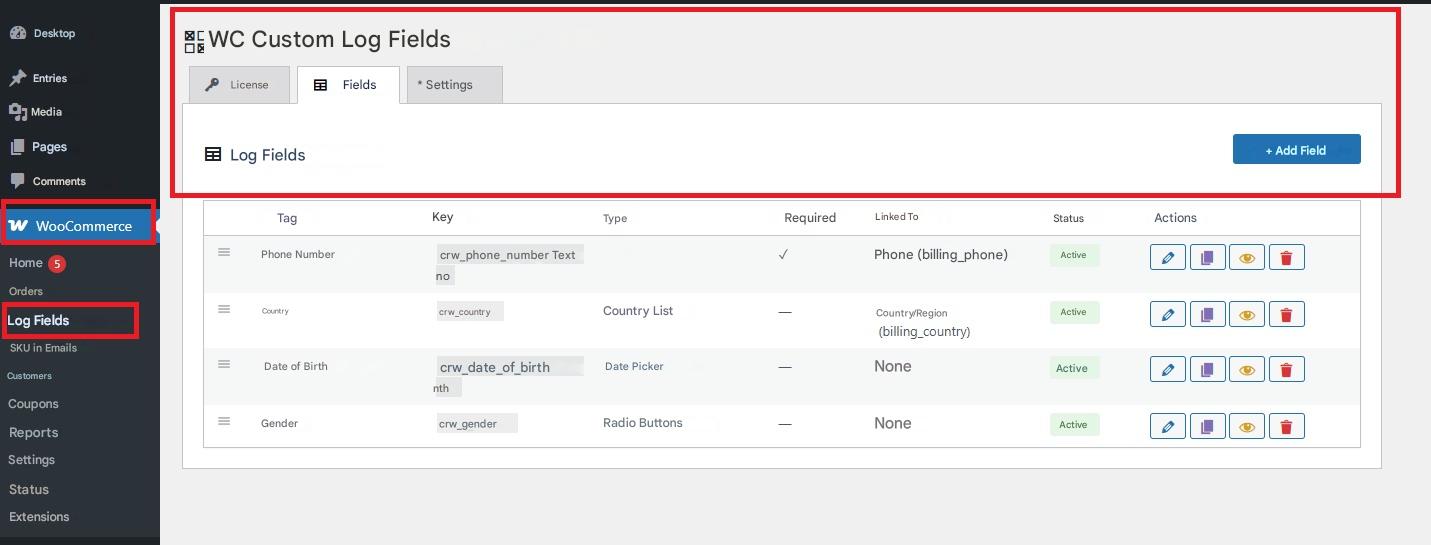
Once in that section, we will find three subsections:
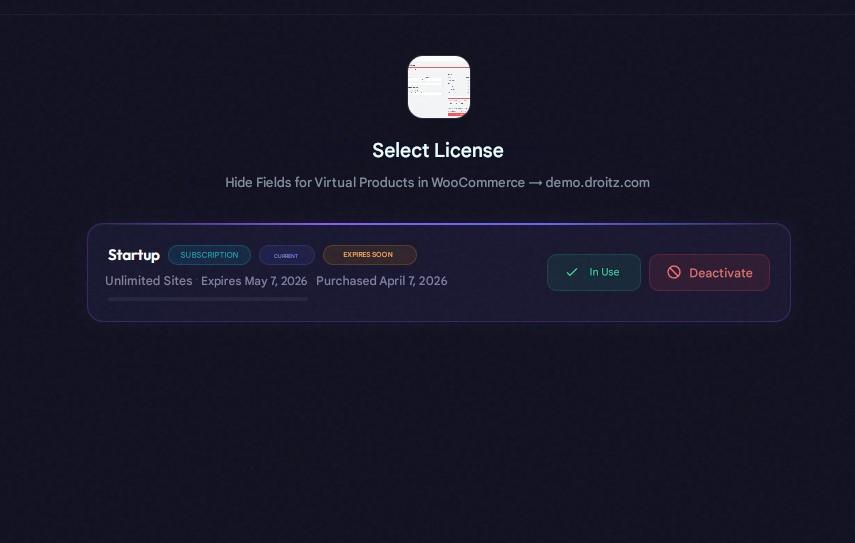
License
There's not much to explain here; you'll be able to see the plan you've subscribed to, the expiration date, and the option to deactivate the license.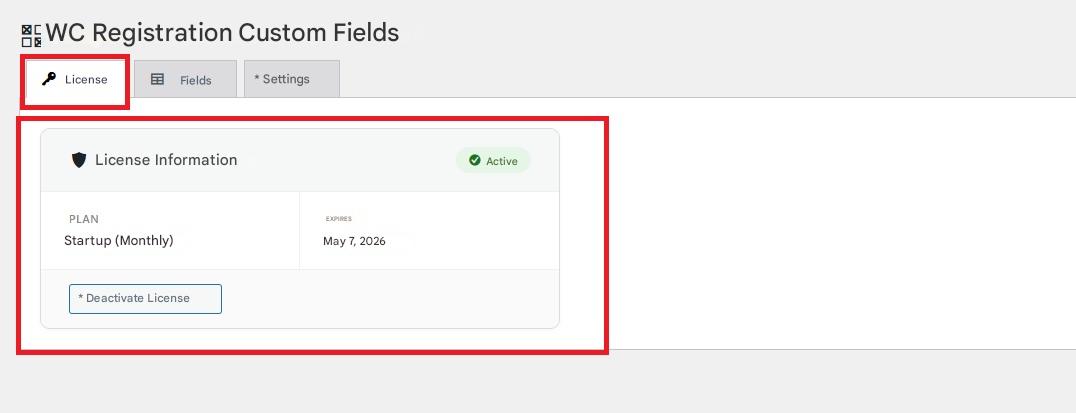
Fields
In this option we will find the registration fields section, its main purpose is to add new fields to the registration section.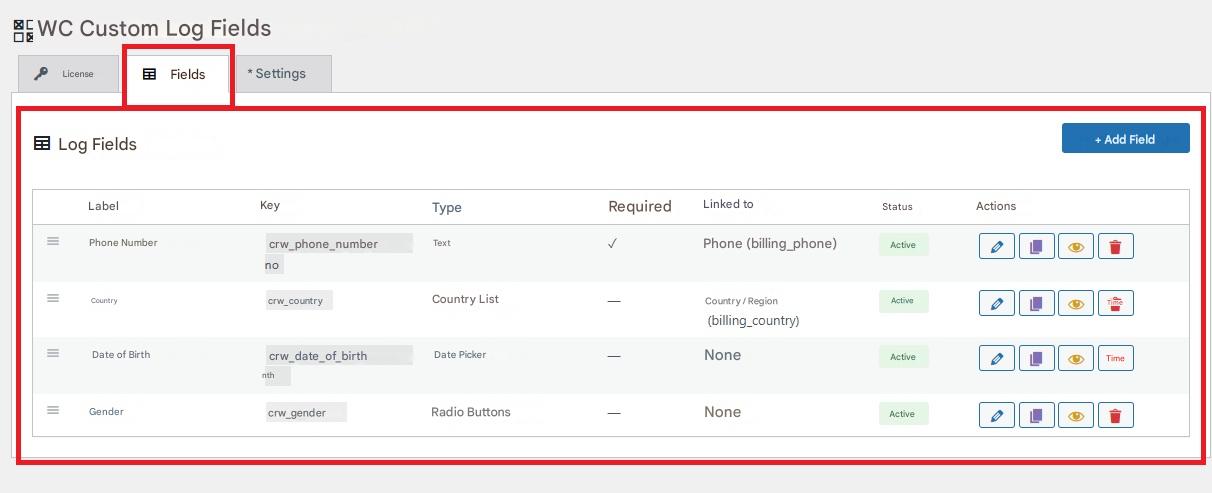 To do this, we will go to add field, where we will find several functions:
Label:
This is the name the field will have.
Field key:
The field key is automatically filled in based on the information you enter in the "Label".
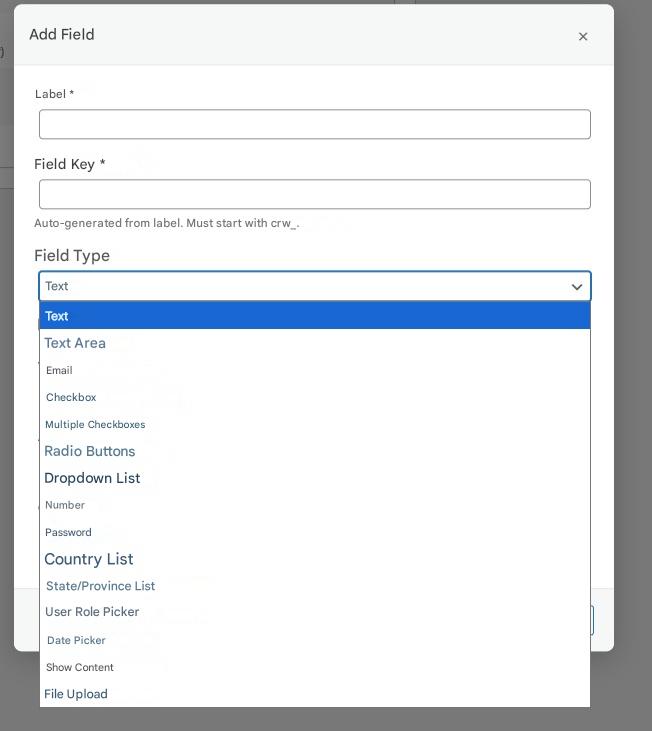
Field type:
Here you will find multiple options for the type of field you need, from a field that allows you to write text, a section for marking options, to a section for uploading files.
In addition, below this section we will find three options: mandatory, read only in my account, and show at checkout.
- Required: By selecting this option, the user must complete the section to continue.
- Read-only on my account: By activating this option, once the user has finished filling in the information, they will no longer be able to modify it, and the user information section will indicate that this information cannot be edited.
- Show on checkout page: This option is used to check if you want that specific field to be displayed on the checkout page.
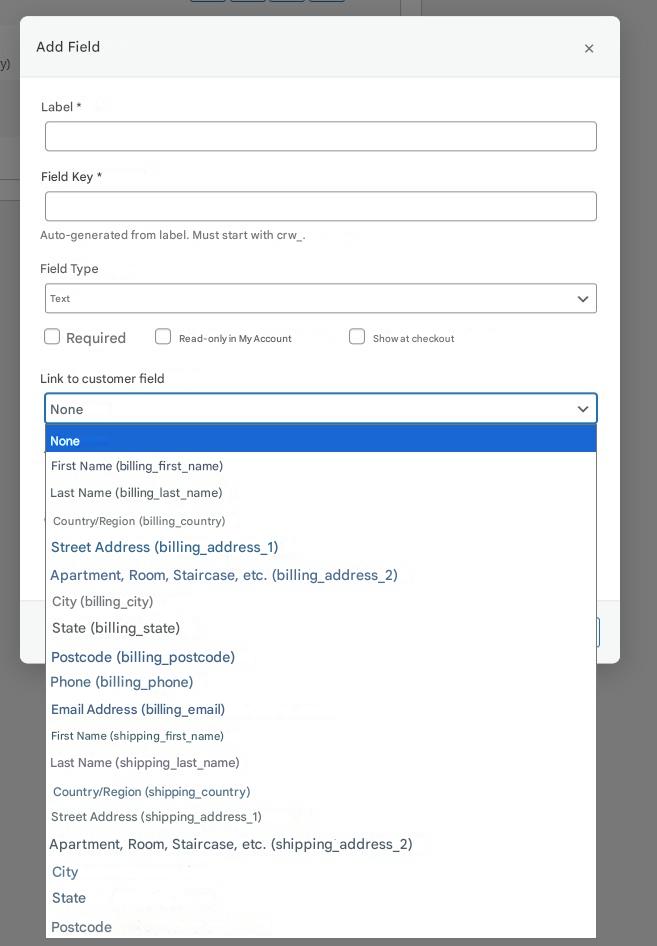
Link to the client field:
This section allows you to link the field you are creating on the registration page with an existing field in the checkout process .
For example, if you add a "phone number" field during registration, this information will automatically sync with the phone number field at checkout. This way, the user won't have to re-enter the same information, as it will already be saved.
In the list of fields, options such as billing and shipping will appear in parentheses, indicating what type of field they can be linked to:
- Billing: Refers to the billing fields.
- Shipping: Refers to the shipping fields.
Broad:
Here you configure the size of the field box that will appear in the record, either for full width or for half width.
Example text:
This is an example of the text that will appear by default in the field; this text acts as a watermark for that field.
Clases CSS:
It is used to assign a name to the field, so that custom styles or settings can be applied with CSS.
Once the field is configured, we proceed to save. 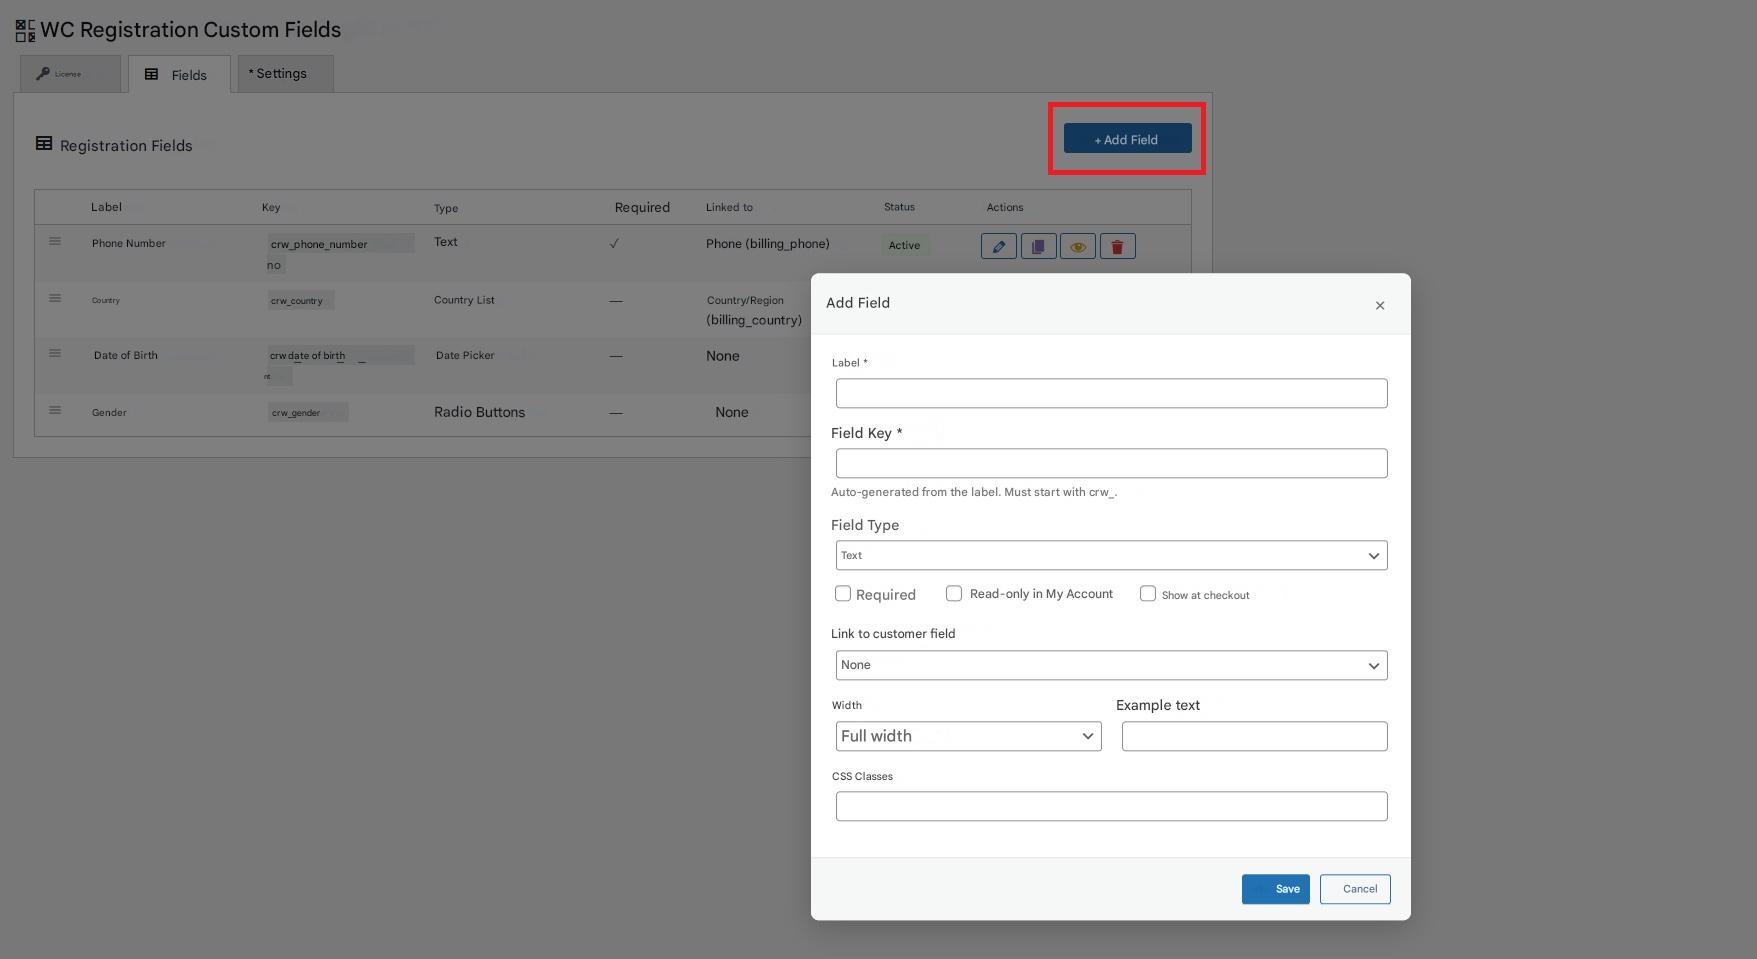
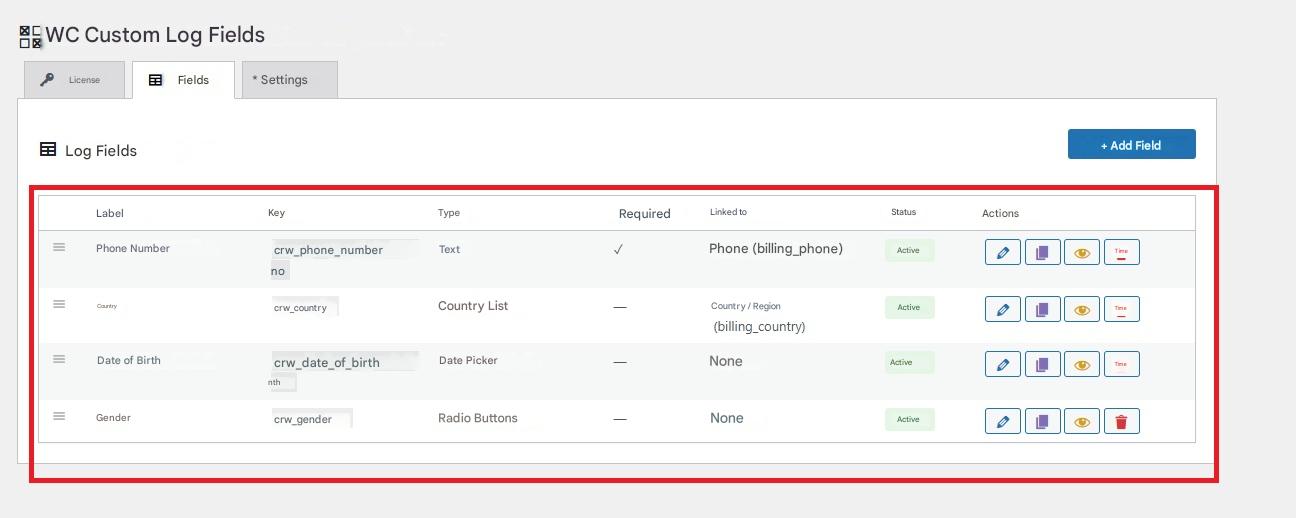
Once you have finished adding the various fields to the box, several sections will appear:
- Label: refers to the visible name of the field that the user will see.
- Key: is the internal name that the system uses to identify the field.
- Type: defines what type of data will be entered into the field (text, number, email, etc.).
- Required: Indicates whether the field must be completed to continue with the registration.
- Linked to: Shows whether the field is connected or associated with other data within the system.
- Status: Indicates whether the field is enabled or disabled.
- Actions: Here you will find the options to edit, duplicate, show or hide, and delete the field.
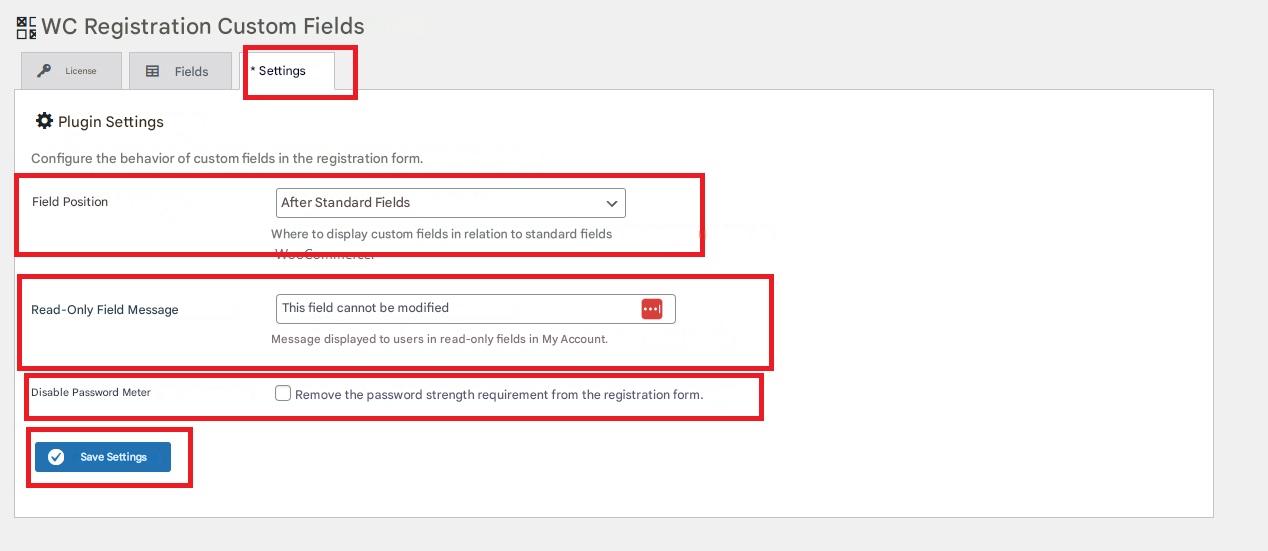
Settings
In this section we will configure the plugin, so three options will appear:
- Field positioning: Allows you to define where custom fields will be displayed in relation to standard WooCommerce fields, whether before, after, or in a specific position within the form.
- Read-only field message: A custom message that is displayed to users in read-only fields within the My Account section.
- Disable password meter: Allows you to remove password security validation in the registration form, preventing the system from requiring complex passwords.
Once these settings are configured, we save them.